Buy Today and Save 10%! Use Coupon Code: INSTA10 🏷️

💫 Live Now: BFCM Sale! Lifetime Deals You Can’t Miss! ⏰

Turn Photoshop Designs Into Dynamic Product Configurators

Create fully interactive, customizable WooCommerce products by turning layered Photoshop designs into real-time configurators using WP Configurator.

Why Layers Are the Secret to Custom Product Success

Every color, texture, and feature your customers want -controlled instantly. Layers allow users to personalize products in real time, giving them full control over presentation and functionality.

left alignment

Visual Precision

Show every detail exactly as you designed it-clean, aligned, and pixel-perfect.

coffee cup

Unlimited Options

Offer multiple colors, patterns, or styles with a single image set.

performance 1

Speed & Efficiency

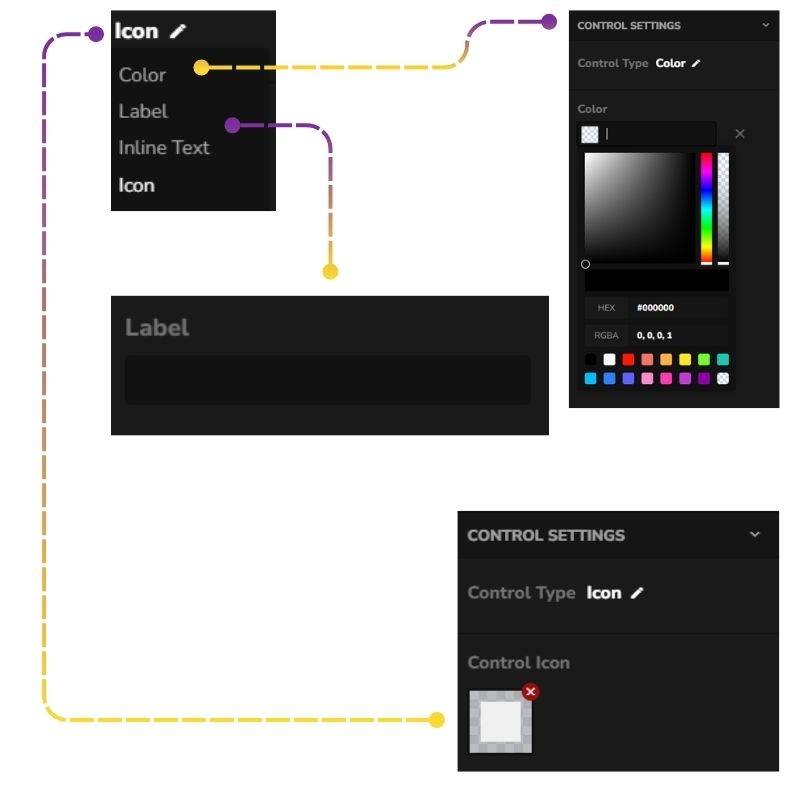
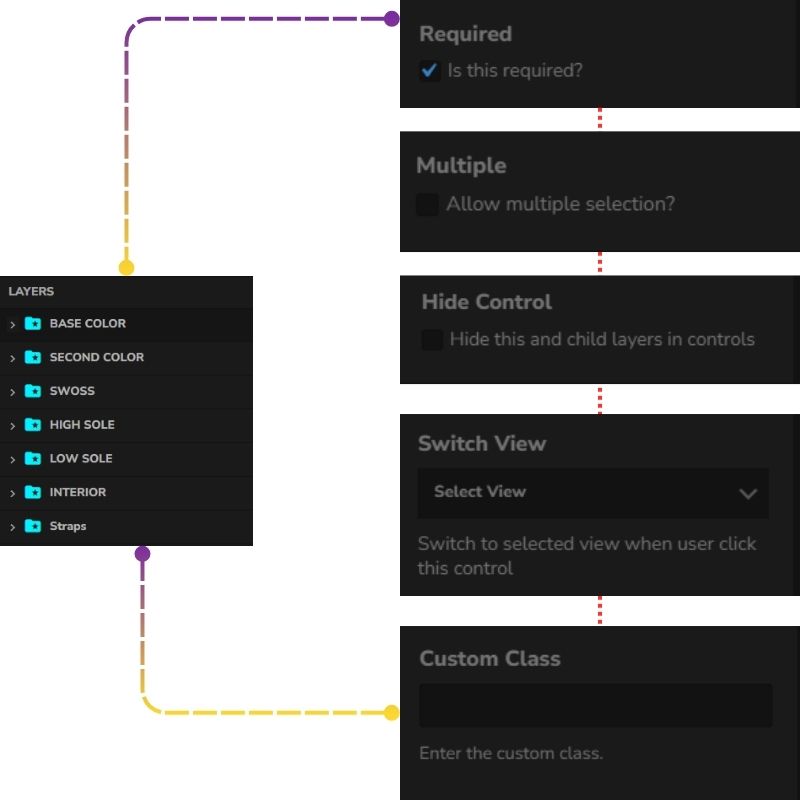
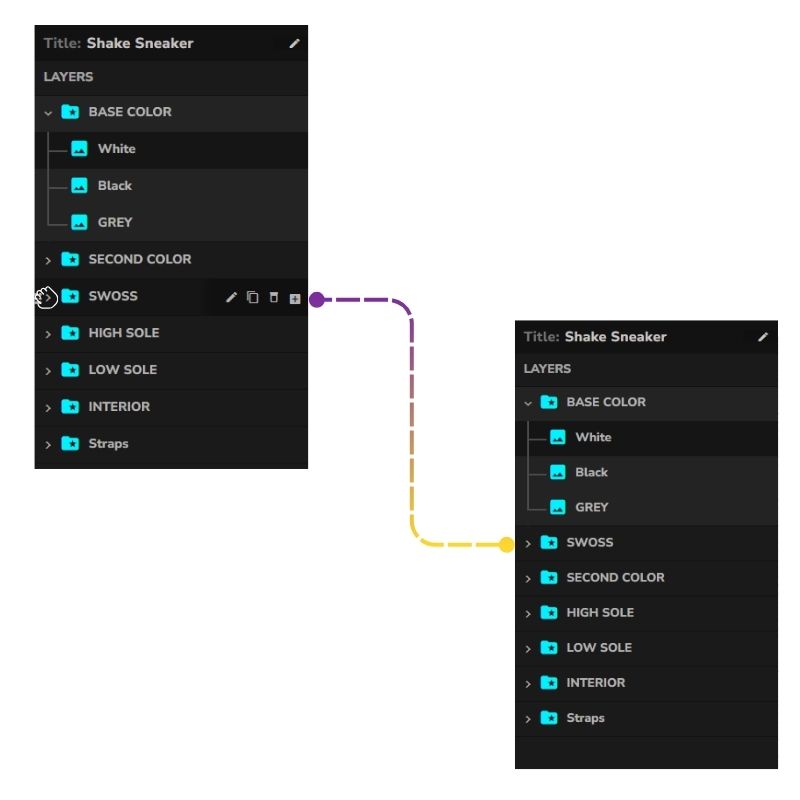
Design once in Photoshop, export the layers, and deploy instantly in WP Configurator.

Design Smarter in Photoshop

To get the best results in WP Configurator, start by building clean, organized layers in Photoshop.

Here’s how:

  1. Open your product image in Photoshop.

  2. Use the Pen Tool or Lasso Tool to isolate product parts (e.g., base, strap, logo).

  3. Place each part on a separate layer.

  4. Name layers clearly (e.g., base-blue.png, sole-black.png).

  5. Keep the canvas size consistent across all layers (e.g., 1000x1000px).

  6. Export each layer as a transparent PNG or WebP file.


Pro Tip: Use Layer Masks and Hue/Saturation Adjustment Layers to create multiple color variations without duplicating your entire design.

Bring Layers to Life in WP Configurator

Once your layered images are ready, it’s time to build your product configurator.

Create Configurator
Create a new configurator in the WP Configurator dashboard
Group Layer
Add Group Layers like “Base Color”, “Material”, “Logo”, etc
Image Layer
Upload each PNG/WebP image as an Image Layer inside the correct group
Active on Load
Set one layer as “Active on Load” to display by default
Control Option
Configure the control style (color swatch, icon, label)
Group Layer Option
Set multiple selection rules, view-switching options, and other controls
Drag n Drop
Drag and drop layers to manage their visual stacking order
1
2
3
4
5
6
7

Optimize for Speed, SEO & User Experience

folder

Use compressed PNG or WebP images for faster load times

folder 1

Name files and layers descriptively (e.g. backpack-red-leather.png)

seo

Add alt text for every image layer to improve accessibility and SEO

alignment

Ensure all images are perfectly aligned using the same canvas size.

growth chart

Keep file sizes small (ideally under 300KB per image).

Troubleshooting: Common Issues Solved

Make sure all exported layers share the same canvas size and positioning.

In each group’s settings, disable “Multiple” and enable “Deselect Child.”

Upload it as a base layer, mark it “Active on Load,” and don’t assign selection controls.

Ready to Launch Your First Custom Product?

Whether you’re building custom apparel, tech gear, shoes, or furniture. WP Configurator and Photoshop give you the freedom to design, customize, and sell faster.

Start creating layered products today and give your customers the interactive shopping experience they expect.